
Framer & Wordpress, sittin' in a tree...
F-E-T-C-H-I-N-G

(Yeah OK so that’s one letter too many. Oh well.)
Triggered by a question on the Framer Discord about using Wordpress as a headless CMS for Framer Sites, I got thinking: “That shouldn’t be all too hard, perfectly doable in fact.” Wordpress has this JSON API, Framer can do everything that JavaScript & React can, I have some experience in both: let’s do this!
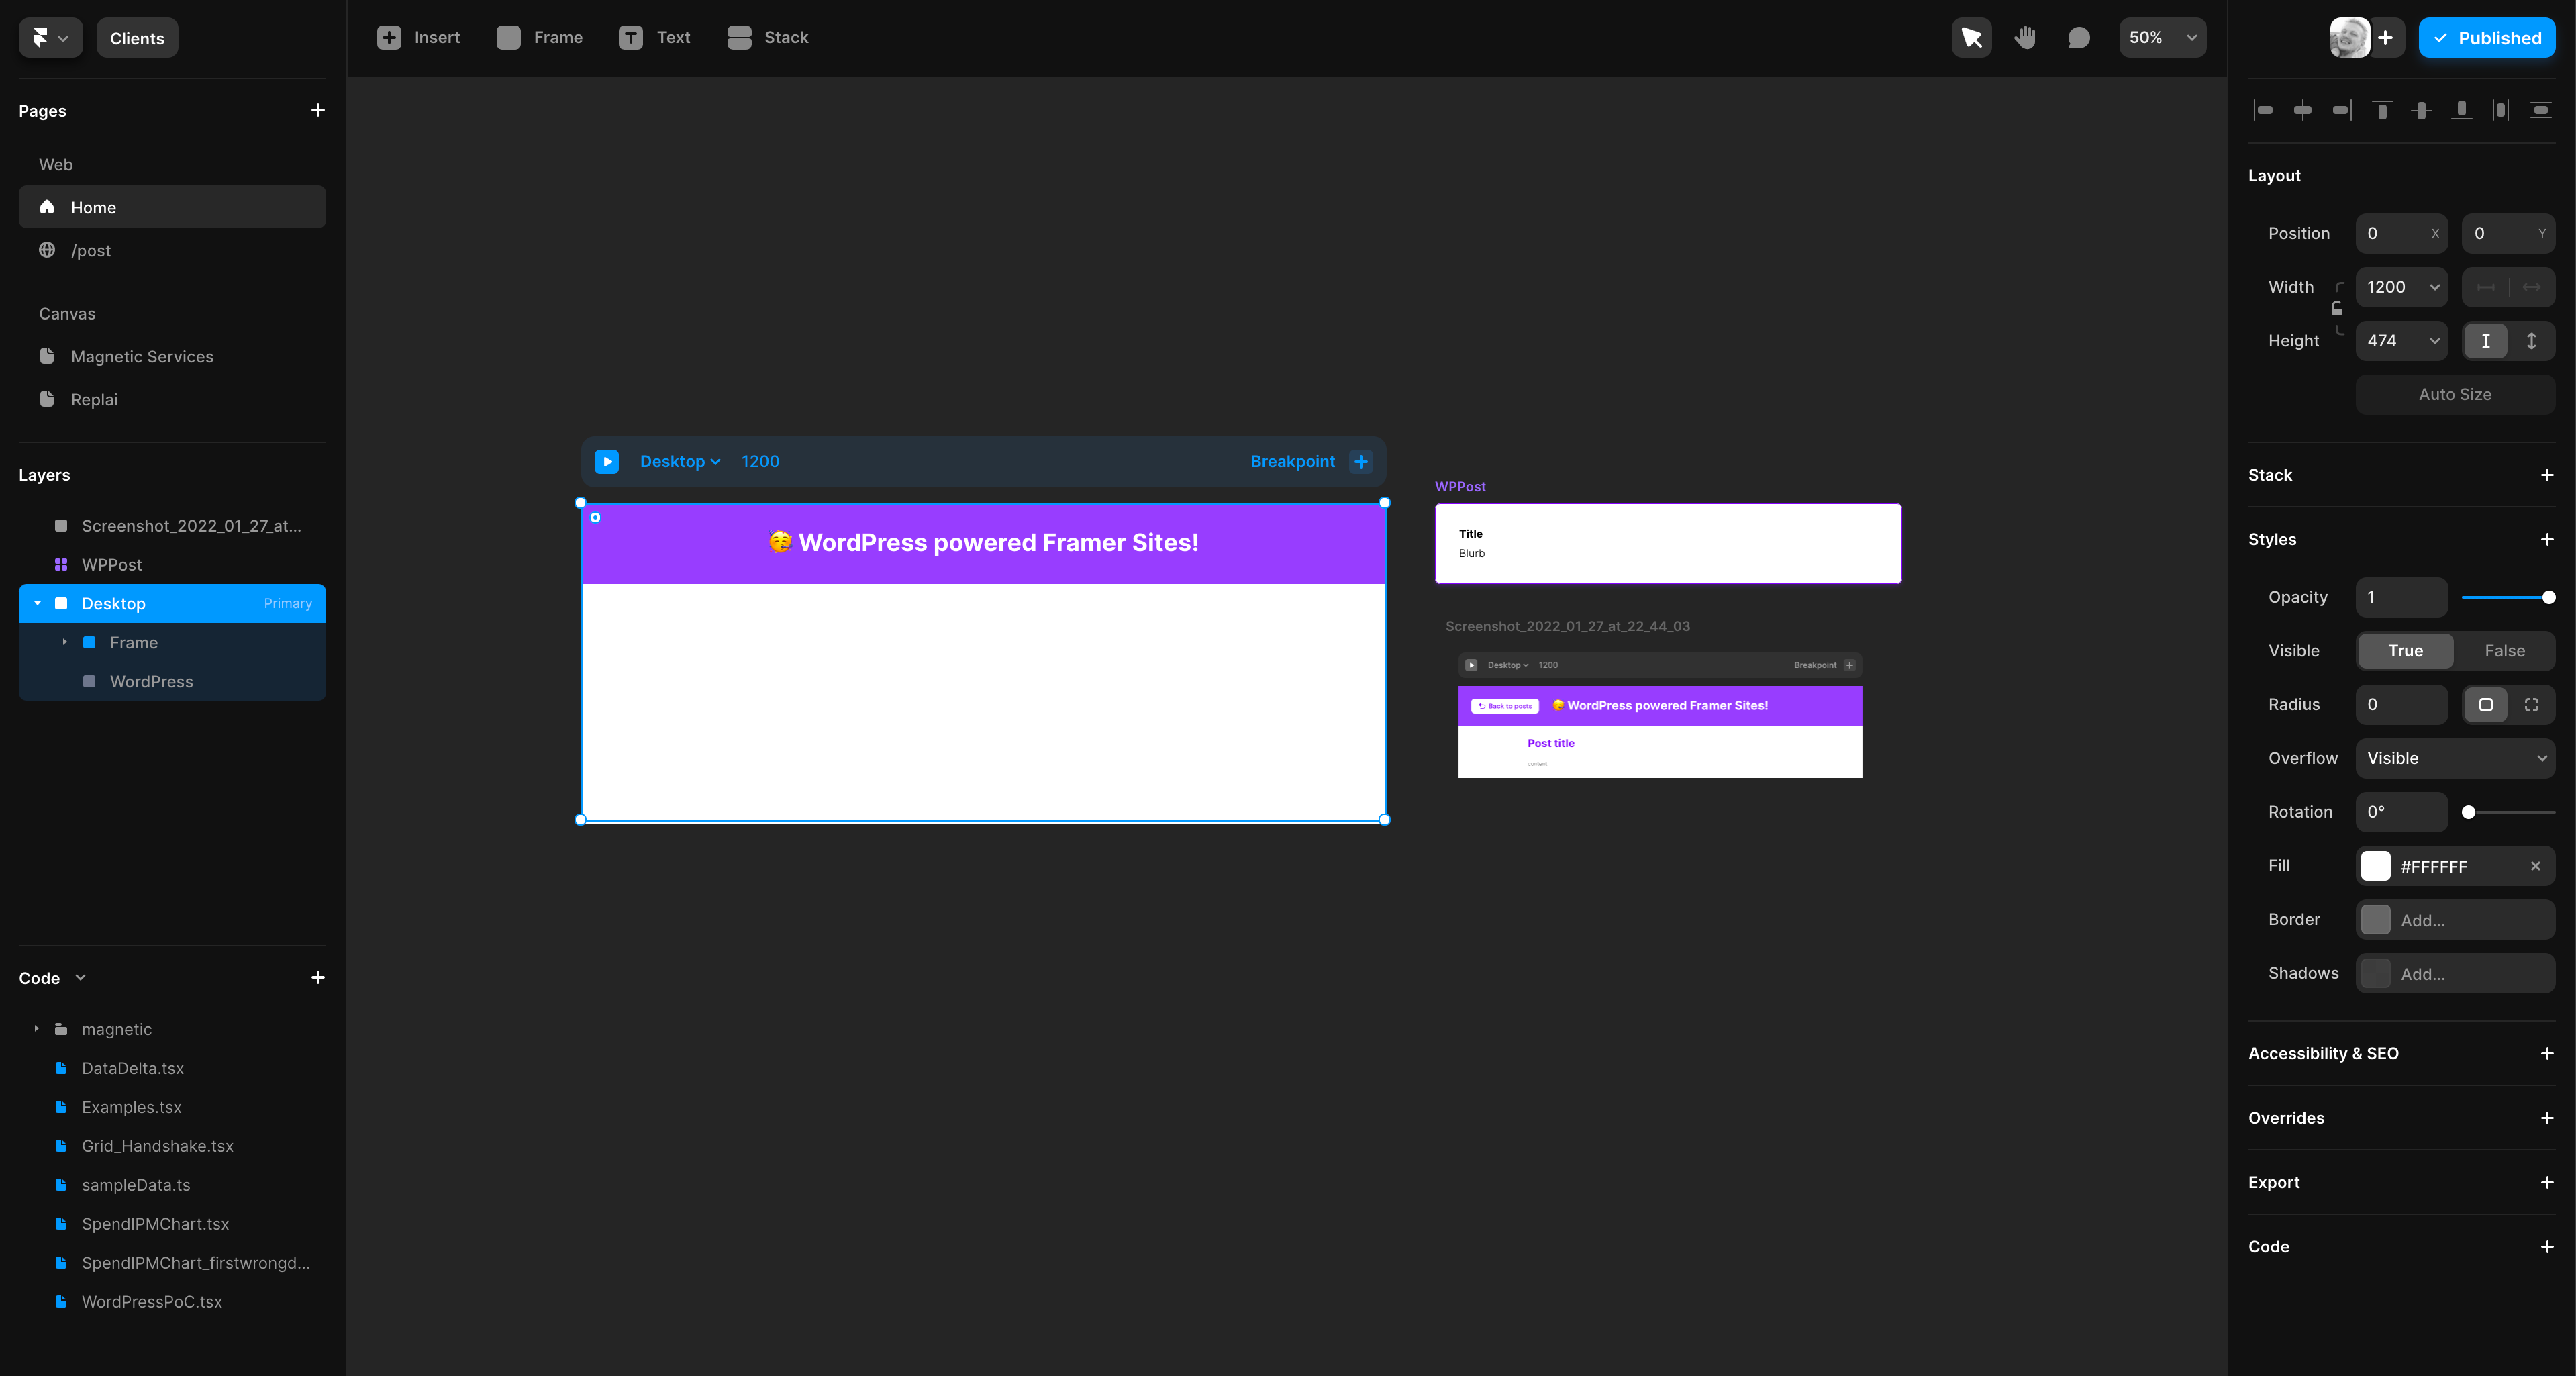
So, our first step is opening up Framer, and adding a new empty Frame to the canvas: this’ll be our entry point for the website, but also the React component responsible for fetching and listing the posts from Wordpress.
Now for Framer to actually run our custom code, we attach a so called Override: this is basically just Framer’s way of wrapping the Frame you see on its canvas into a Higher-Order Component, extending or configuring the original component. Remember that Framer runs on React, so we get access that everything React has to offer as well including Hooks.
To add an override, select the Frame and from the lower right portion of Framer’s UI, add a new Override file (it’ll be named Examples.tsx by default), and hit the Edit code button.
You’re now in the code editor. Delete everything in this file, and paste the following code. Don’t worry, we’ll run through it in a bit.
import type { ComponentType } from "react"
import { createStore } from "https://framer.com/m/framer/store.js@^1.0.0"
import { useEffect, useRef, useState } from "react"
import { motion } from "framer-motion"

const useStore = createStore({
    posts: []
})

export function WPPostsFetcher(Component): ComponentType {
  return (props) => {
    const [store, setStore] = useStore()

    const fetchPost = async () => {
      const url = `MY_WORDPRESS_URL/wp-json/wp/v2/posts?per_page=25`
      const response = await fetch(url)
      const data = await response.json()

      setStore({ posts: await data })
    }

    useEffect(fetchPost, [])

    return (
      <Component {...props} layout style={{ ...postsList }}>
        {store.posts.map((post, i) => (
          <motion.div key={post.id}>
            <h2>{post.title.rendered}</h2>
            <div>{post.content.rendered}</div>
          </motion.div>
        ))}
      </Component>
    )
  }
}

const postsList: React.CSSProperties = {
    display: "flex",
    flexDirection: "column",
    gap: 24,
    height: "fit-content",
}
Whenever we want React to run some code when a component mounts (and only that one time), we use the `useEffect` hook, and that’s exactly what we’re doing here. Whenever the page has finished loading, it runs the useEffect hook, which in turn calls the (async) `fetchPost` function. This is nothing more than JS’s native fetch function calling the Wordpress API. In this example, we ask Wordpress for the last 25 posts. Since it’s a Promise, we need to `await` the response for a bit. With the final promise resolved, we can then store the actual posts in a Framer-supplied storage hook called `useStore`. This works much the same as useState, but is actually more like a `useContext` — Lite Edition.
With the posts store populated, Framer (or actually, React) now has enough info to build our posts list! Within the return function, note that we iterate (using the map function) over the same Posts store we just populated thanks to the useEffect. What we’ve done here is add a new component to our initial Frame for each of the 25 posts fetched from Wordpress.
Save this file, and go back to the Canvas. Take note that now that we’ve written this code, we haven’t actyually attached it to our Frame yet. From the lower right Override control again, and with the Frame selected, choose the file you just worked in, and then the `WPPostsFetcher` override.
Now hit Cmd/Ctrl+P to play the prototype, wait a few seconds and you should see the latest 25 posts from your Wordpress CMS coming in!
But wait… there’s more. We want more posts than just the last 25. Since this is 2022 and we’re lazy people and we don’t want to click if we don’t have to, let’'s implement lazy loading and infinite scrolling, all with just 2 extra Framer Motion props and 1 tweak to our URL.
You might have noticed that our posts get rendered in a `motion.div` component. We do this, because now we get access to the Framer Motion’s built-in IntersectionObserver. The idea is that whenever a post gets rendered onto the screen (measured via IntersectionObserver) , we use that trigger to fetch the next post and update our store. We start with a single post, the browser sends an event whenever this post gets rendered on the screen, and this event in turn triggers the fetching of a new post. This’ll continue until the entire available space (and then some) is filled. If we then scroll up a bit, the and-then-some posts come into view and the whole process repeats.
Let’s get back to the code. In our `motion.div` component, add the following two props:
onViewportEnter={fetchPost}
viewport={{
  once: true,
  margin: "0px 0px 800px 0px",
}}
The `onViewportEnter` props calls the fetchPost function again whenever the div comes into view. The `viewport` prop ensures that it triggers only once (we don’t want the same post to be fetched over and over whenever we scroll it out of view and back again), and the margin… well, it sets the margin of the intersection. We now move the intersection’s bottom edge to 800px _below_ the viewport’s bottom edge. So whenever a post is rendered within the viewport’s height + 800px, it will cause the browser to fetch new posts. This’ll make for a smoother user experience.
Next step is to tweak our WordPress url to not fetch the latest 25 posts, but to get just 1, and to tell it which one (otherwise we’d get the same post over and over again). Back in the `fetchPost` function, edit the `url` const to:
const url = `MY_WORDPRESS_URL/wp-json/wp/v2/posts?per_page=1&page=${ store.posts.length + 1}`This will call just 1 posth, and it’ll call the post that’s just one spot further than what we’ve already stored.
Final step! Instead of simply overwriting the posts store, we want to add to it. This is a piece of cake using ES6’s destructuring. We simply take what’s already stored, add to it the new post, and pass the combined collection of posts back to the store.
Replace this:
setStore({ posts: await data })with this:
const newPost = await data
setStore({ posts: [...store.posts, ...newPost] })
You’ve now implemented a lazy loading, infinite scrolling list of posts served from your Wordpress, rendered in Framer! You could make this even fancier by rendering the posts in Smart Components. Even fancier is clicking on a preview of a post, sending you to a separate page with the full contents. Actually, that’s what I’ve done here on this Proof of Concept: a complete example of a Framer Sites page loading posts from a Wordpress backend, listing each post on a tile with an excerpt. Clicking on a post tile opens the same post in full on a completely separate page, dynamically.
Just to show how incredibly tiny the amount of effort is, here’s a screenshot of the _entire_ project in Framer:
Navigating from the index page to the single post page is all handled from Framer’s UI: no code necessary.
And the actual code that _is_ necessary? Not all that different. Most of the changes from what you’ve read so far is about animations and storing the reference to the clicked posts. Here, see for yourself:
import type { ComponentType } from "react"
import { createStore } from "https://framer.com/m/framer/store.js@^1.0.0"
import { useEffect, useRef, useState } from "react"
import { motion } from "framer-motion"
import WPPost from "../canvasComponent/dhm5DaSKx"

const useStore = createStore({
    posts: [],
    activePostIndex: 0,
})

export function FullPost(Component): ComponentType {
    return (props) => {
        const [store, setStore] = useStore()
        const post = store.posts[store.activePostIndex]
        return (
            <Component
                {...props}
                layoutId={post.id}
                style={{
                    ...props.style,
                    maxWidth: 860,
                }}
                title={post.title.rendered}
                content={post.content.rendered}
            />
        )
    }
}

export function WPPostsFetcher(Component): ComponentType {
    return (props) => {
        const [store, setStore] = useStore()

        const fetchPost = async () => {
            const url = `https://gvv-aspasia.nl/volleybal/wp-json/wp/v2/posts?per_page=1&page=${
                store.posts.length + 1
            }`

            const response = await fetch(url)
            const data = await response.json()
            const newPost = await data
            setStore({ posts: [...store.posts, ...newPost] })
        }

        const openPost = (postIndex) => {
            setStore({
                ...store,
                activePostIndex: postIndex,
            })
            if (props.onTap) props.onTap()
        }

        useEffect(fetchPost, [])

        const variants = {
            initial: {
                scale: 0,
                opacity: 0,
                borderRadius: 6,
            },
            visible: {
                scale: 1,
                opacity: 1,
            },
            hover: {
                rotate: 6,
                backgroundColor: "rebeccapurple",
                color: "#fff",
            },
        }

        return (
            <Component {...props} layout style={{ ...postsList }}>
                {store.posts.map((post, i) => (
                    <motion.div
                        variants={variants}
                        initial={"initial"}
                        animate={"visible"}
                        whileHover={"hover"}
                        key={post.id}
                        style={{
                            flex: 1,
                            maxWidth: "50vw",
                            minWidth: "360px",
                            height: "fit-content",
                        }}
                    >
                        <WPPost
                            // key={post.id}
                            layoutId={post.id}
                            title={post.title.rendered}
                            blurb={post.excerpt.rendered}
                            onViewportEnter={fetchPost}
                            viewport={{
                                once: true,
                                margin: "0px 0px 800px 0px",
                            }}
                            onClick={() => openPost(i)}
                            style={{ width: "100%" }}
                        />
                    </motion.div>
                ))}
            </Component>
        )
    }
}

const postsList: React.CSSProperties = {
    display: "flex",
    flexDirection: "row",
    flexWrap: "wrap",
    justifyContent: "center",
    alignContent: "flex-start",
    gap: 24,
    height: "fit-content",
    overflowX: "hidden",
    padding: 64,
    paddingTop: 220,
}
Pretty neat huh?
I’d love to hear if this helped you and if you need any more assistance, just come say hello in the Framer Discord, or hit me up in any which way you like.
Hello max, thank you for your try. What do you thinks is it possible to make enterprise solution with this stack? Like store with woocommerce at the back?